Mnemonic 2SJ162+2SK1058 Amplifire |
RU |
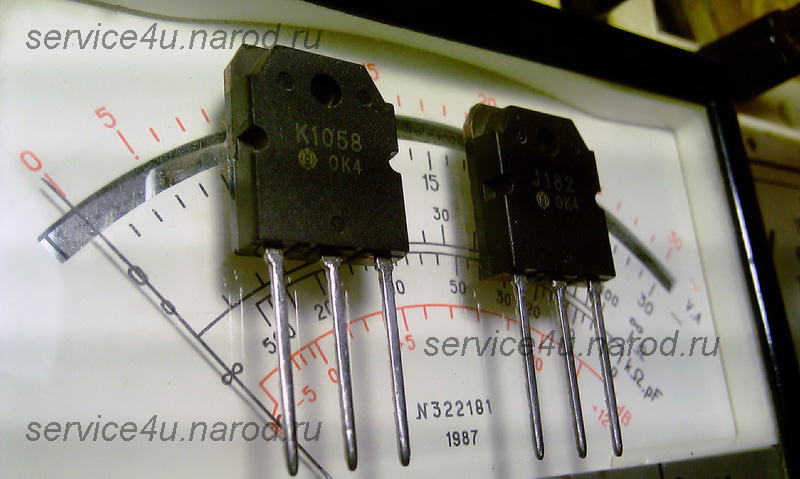
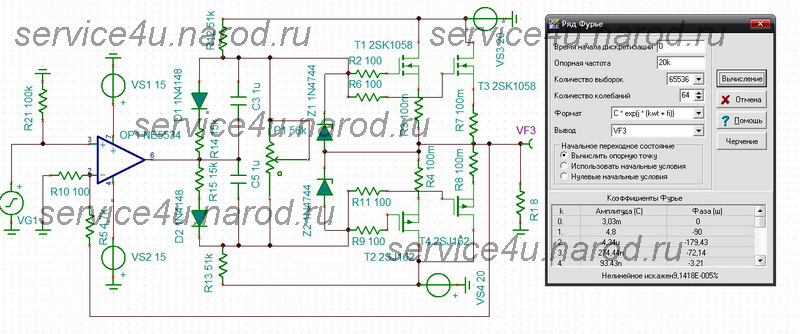
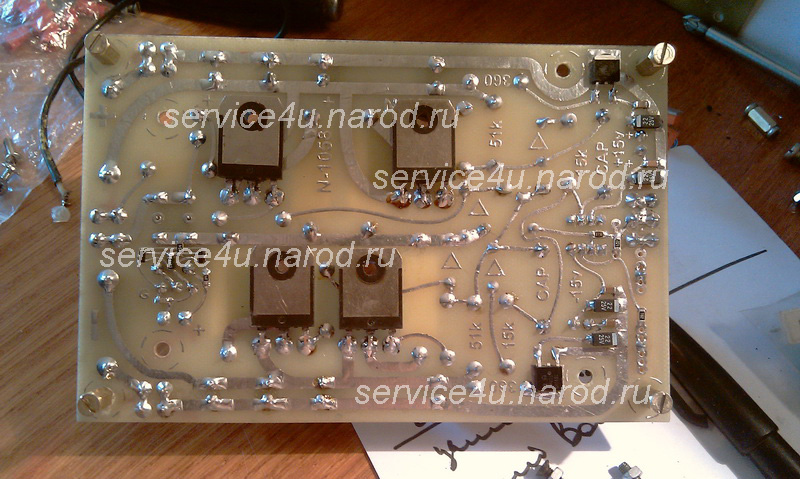
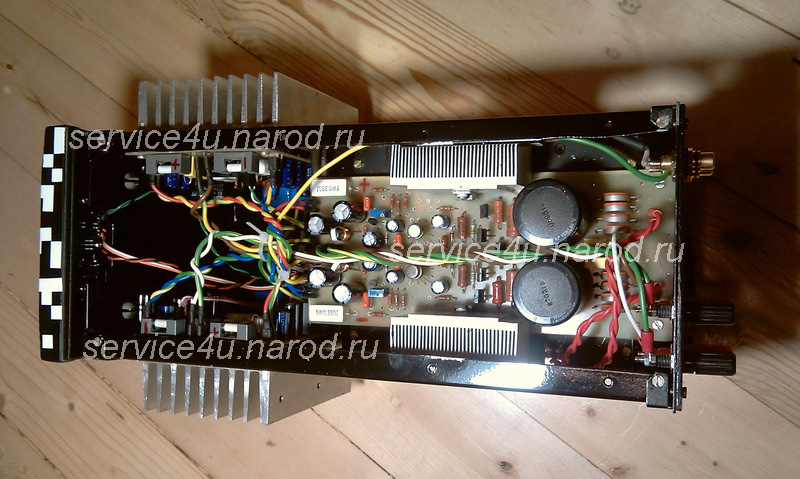
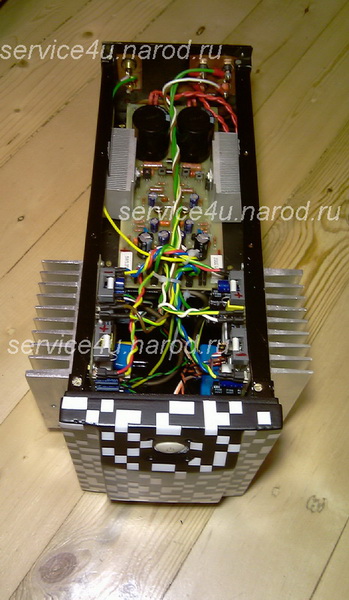
I assembled a very simple and small mosfet amplifier. At the output - 2 pairs 2SJ162 + 2SK1058. Soldered from serviceable parts the amplifier starts working immediately. With a trimmer of 56k, we set the quiescent current to "taste", for myself I set 250mA. Well, the radiators are heating up, well, that's good! It's just lovely to listen to Mnemonic in headphones. As an op amp, I tried 544UD2, OPA134, AD810, NE5534. What to choose as an OU - again, a matter of taste.
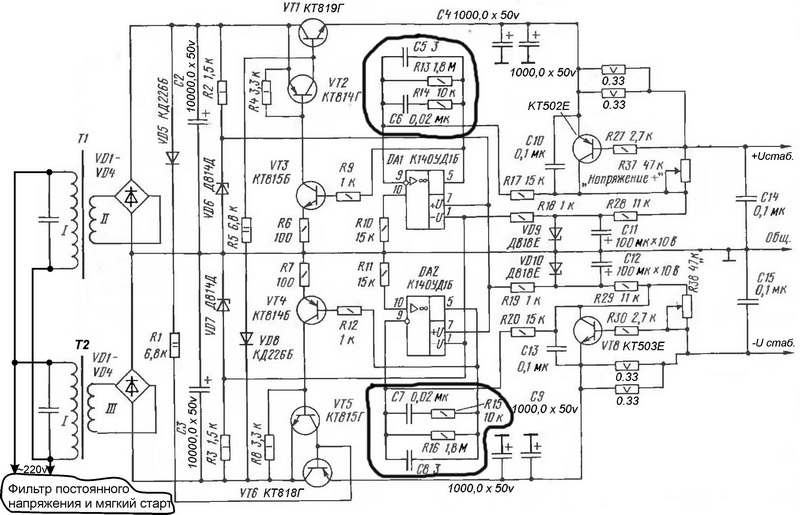
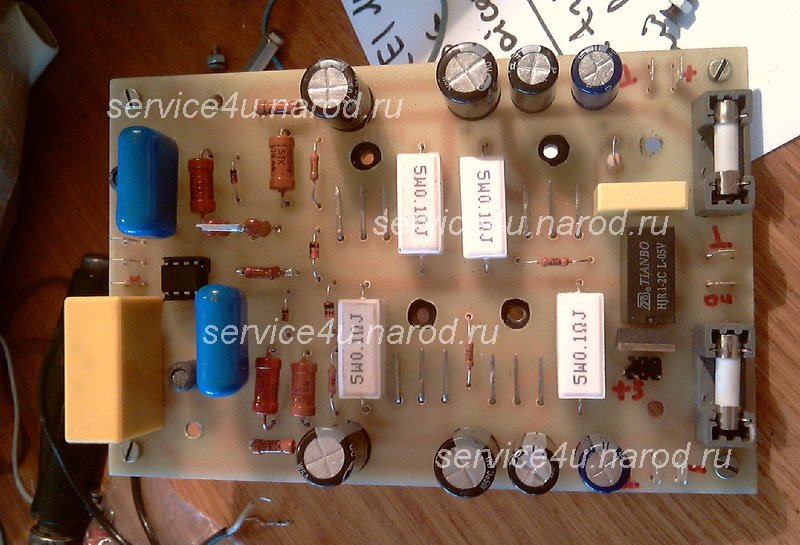
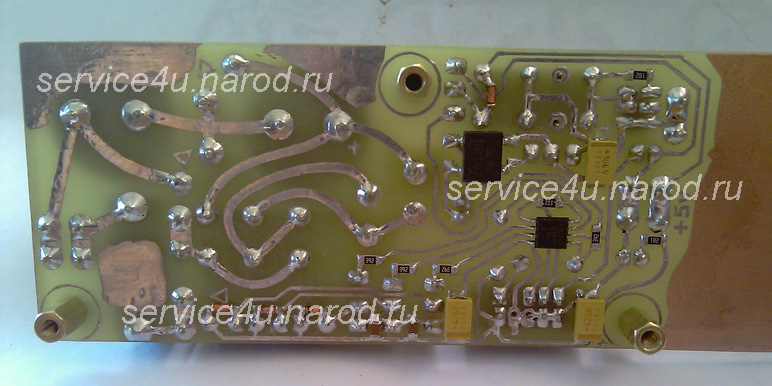
The power supply used stabilized with current protection from the Radio magazine of 2000 for the month of April. The original diagram is dated November 1980. On the power supply circuit, I circled the feedback and correction circuits of the op-amp. There was a problem with this chain - both shoulders were excited. It was expressed like this - VT2 ... VT5 heated up very much in a minute or two after turning on the power. I thought it was to pick up RC chains in the correction of the op-amp, but in the end I left R14R15, while shorting C6C7. And everything instantly fell into place. Instead of variable resistors, R37R38 installed trimmers. I put it under load at 20v for each shoulder and OK.
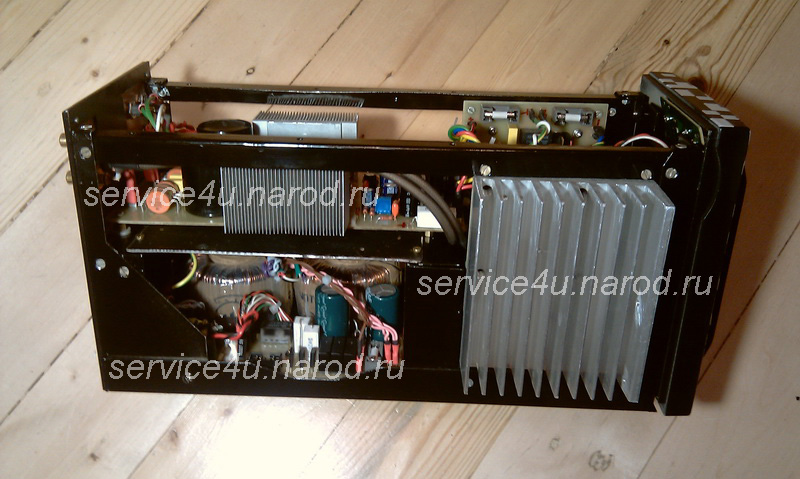
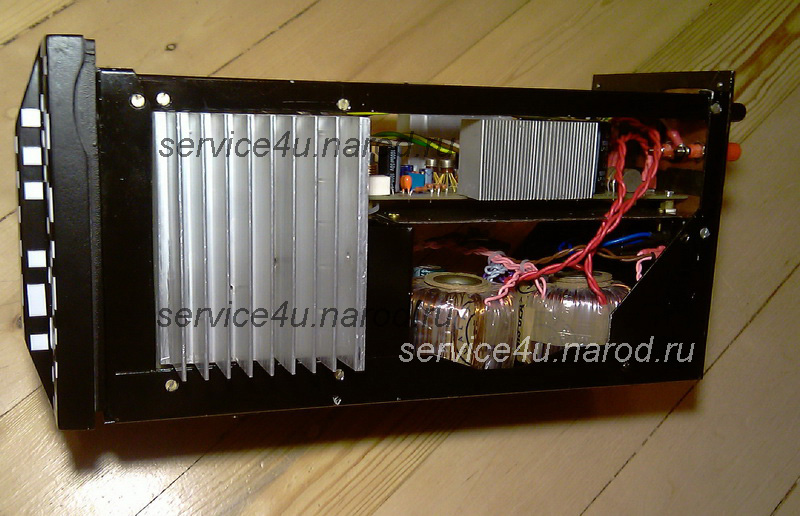
As a feeder for terminal circuits, you can use a simple unstabilized bipolar power supply, but to power the op-amp, I would use a stabilizer, at least a simple parametric one on a resistor and a zener diode, although a transistor would not be superfluous. But the best thing is, of course, a stabilized DC, well filtered.
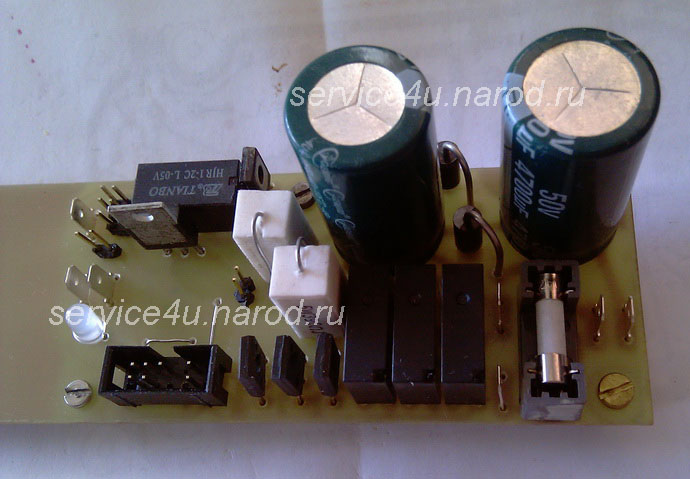
The soft start circuit and on / off button without pressing are made on ATtiny13. I do not give the scheme here, as well as the firmware. I also don’t give a constant voltage filter for the primary windings of transformers here - fortunately there are them on the Internet.
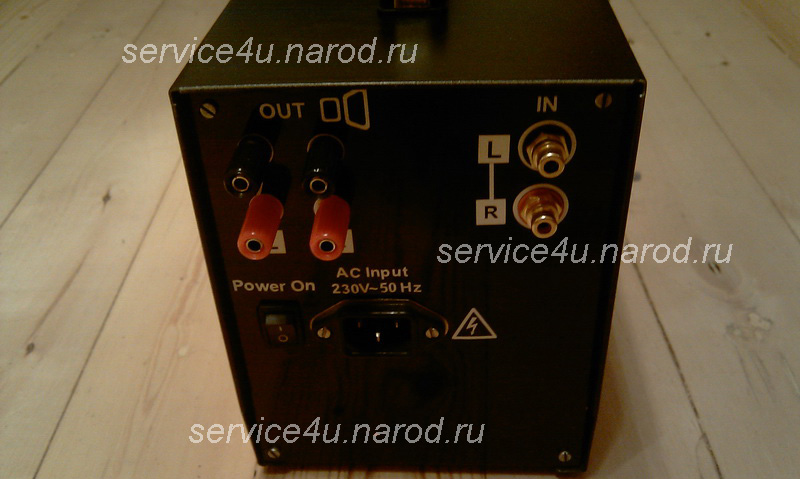
There are two LEDs on the front panel - red indicates that the power is on and green indicates that the speakers are connected. The speakers are connected to the output of the amplifier through a relay, which is part of the protection against DC at the output of the amplifier + a small delay in connecting the speakers.
The back wall is painted in gloss black. The front wall and casing are painted black mat. Lacquered after, respectively. After painting, I applied a drawing made by plotter cutting to the front panel. And varnished after.
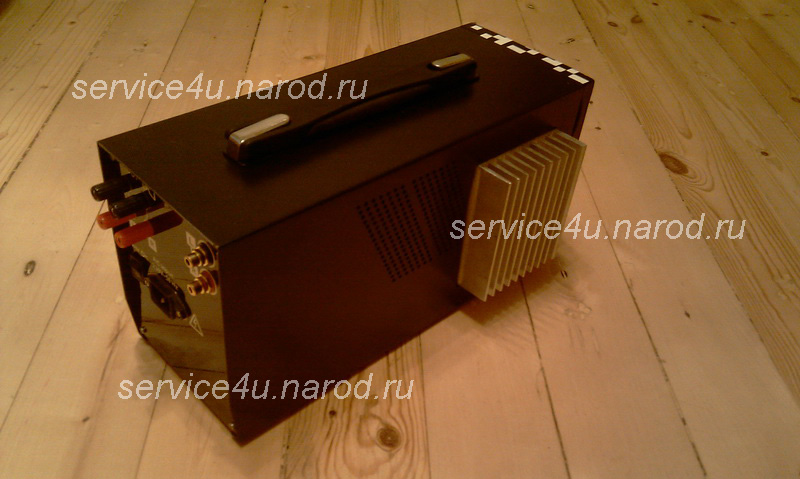
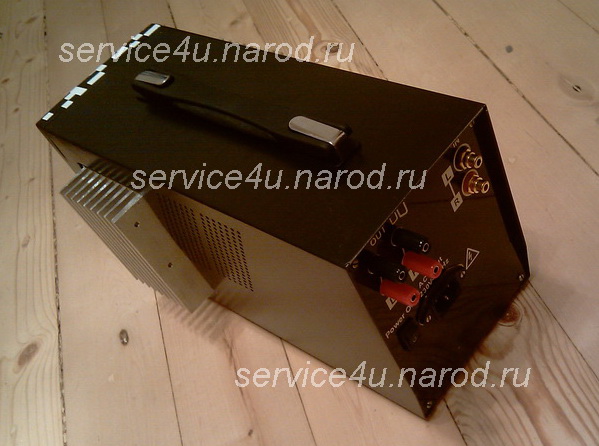
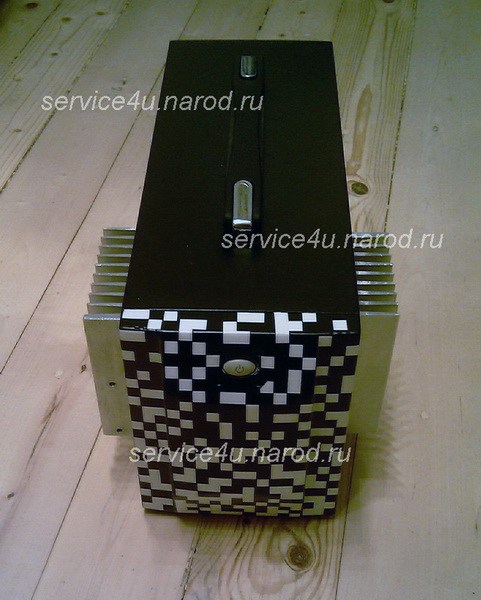
At the end of the assembly, I go to a suitcase repair shop, buy a handle for a suitcase and install it along the longitudinal axis of symmetry, corresponding to the center of gravity of the amplifier on the top wall.
I connect the speakers and enjoy pure sound... Especially after 10 minutes at a volume of about 10% of the maximum, when the transistors warm up and the radiators become well warm, it's time to listen to the Paganini violin.
: : For Tina-Ti : :